There is nothing quite like a bouquet of fresh stems to give to a loved one as a considerate present or as an easy but effective way to spruce up a space in your house. There is nothing wrong with going to the grocery store and picking up a pre-made bouquet or placing an order with a florist But, making your own bespoke bouquet is a thoughtful way to inject a little flair into your arrangement. You may do this by arranging the flowers in your own unique way. You will have complete control over every facet of your arrangement, including its colour palette, height, fullness, and even the types of blooms that you want to highlight. This will give you the ability to create exactly the look that you desire. Your DIY flower arrangement project might not be as challenging as you imagine it would be. Floral arrangement is often considered more of an art than science. Let’s break down the easy steps to flower arranging:
Things you’ll need:
- 25-30 stems of fresh flowers
- Foliage
- Sharp pruning shears or a floral knife
- A vase or other vessel
- One gallon of water
- Bleach or hydrogen peroxide
- Lemon juice or white vinegar
- Table sugar

Step 1: Choose and Prepare Your Blooms and Foliage
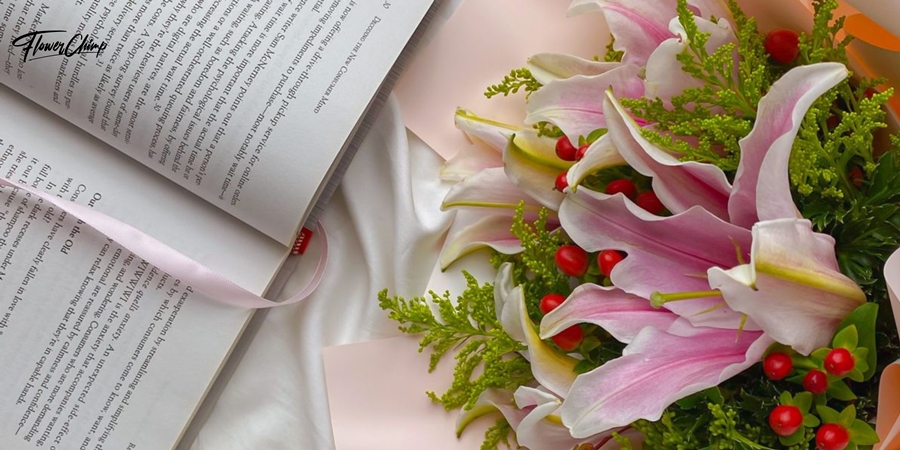
Flowers, of course, are a must for any floral arrangement, and adding some green fronds helps complete the overall effect. Get yourself the freshest flowers in the area. Whether they come from a local market or your own backyard, the freshest flowers make flower arranging more enjoyable and unquestionably give it a more contemporary appearance.
When it comes to picking out flowers for your arrangement, it is best to start with a colour theme and then work your way around it. Flowers of the same shade help the bouquet to stand out further, and they also make it easier to arrange the flowers in the bouquet. In order to get a more unified appearance throughout an arrangement, it is strongly recommended that you limit the number of colours to no more than three. Aside from deciding on the perfect colours, it is also important to consider the variety of textures and sizes. This gives the bouquet the layered look that it needs. Add some green into a collection and voila! You’re ready for some arranging.
Step 2: Snip Snip!
Bring out your scissors, it’s cutting time! Satisfied with the blooms you chose? Now lay them flat and use a floral knife to cut the stems at an angle. This helps stimulates water absorption Remember! Your flowers and foliage should be three-quarters taller than the vase of your choosing. The height of the flowers and the vases used in the arrangement are also significant factors to help keep the arrangement stable. After all, nobody wants their flower arrangement to topple over, do they? While you’re at it, this would also be a good time to trim off any damaged buds or leaves on the stem of the flowers. If you feel like your arrangement already has a sufficient amount of foliage in it, you can always trim off more later.
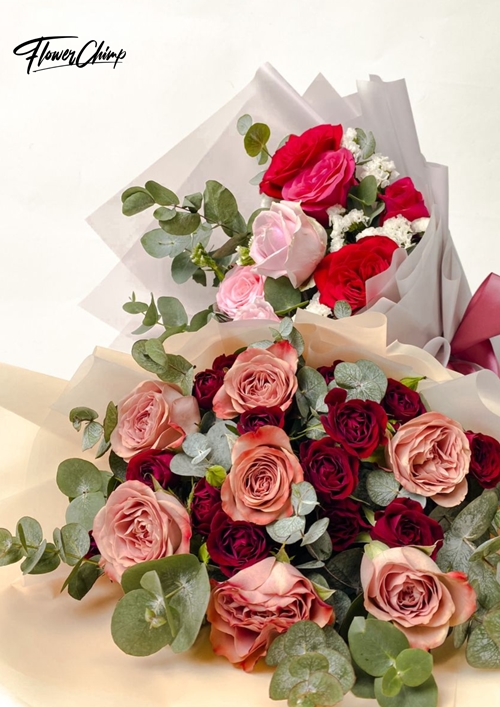
Is it difficult to prepare the flowers? Consider checking out Flower Chimp and their wide variety of flower bouquets so that there will be no more stress over making a floral arrangement. But if you’re all done, let’s move to the next step!
Step 3: Quenching Thirsts
After all that cutting, the flowers must be thirsty! Hydrate the stems of the flowers in lukewarm water to avoid creating air bubbles. Air bubbles could lead to a blockage of absorbing water whenever your water your flower arrangements. After an hour, your stems would be all hydrated and they’re good to go!
Step 4: Keeping It Fresh and Longer
Psst.. here’s the secret, use floral preservatives! What are those? Flower preservatives help counteract bacteria buildup and feed your flowers. Don’t worry about it, you can make your own DIY flower preservatives at home. Mix one gallon of water to four teaspoons of bleach or hydrogen peroxide, 4 tbsp of lemon or white vinegar, and four tablespoons of table sugar into a mixing bowl. Stir to combine. When you add some water to your vase, your arrangement will now maintain its freshness for a longer period of time!
Step 5: Adding The Greenery
Now comes the complicated part. Each floral arrangement has its own one-of-a-kind structure that holds the whole arrangement together. The following step is to construct a structure in the vase using foliage, leaves, or fronds in order to measure the circle and height of your finished arrangement. Decide on the look you’re going for your flower arrangements and you can use foliage such as dusty miller, tree fern or even eucalyptus! The diameter of the vase can then be constructed by adding greenery all the way around its rim. After that, the height of the vase can be constructed by adding leafage to the centre of the vase. If you measure the inside of the vase and add some kind of support to it before you start arranging the actual flowers, it will be much simpler for you to position the flowers anywhere you choose without causing the arrangement as a whole to look disproportionate.
Step 6: Arranging The Blooms
Now comes the moment you have been patiently waiting for… the flower arrangements! Begin by placing six to eight flower stems in the vase, and gradually add more stems as you see fit. It is best to start by filling the vase with flowers that you particularly like so that they are the focal point, and then finish by adding filler flowers until there are no empty spaces. When arranging the flowers, one key element to easily retain the shape of the arrangement is to rotate the arrangement periodically as you go. The trick is to fill in any empty spots with the largest flowers that you have selected. Rather than randomly placing these flowers throughout the arrangement, you should cluster them to create a “moment” for more visual impact.
Step 7: Enjoy The Work Of Art
This step is when you finish up on your creation and actually take a moment on appreciating the piece you made all by yourself. Set your freshly made flower arrangements in your home wherever you feel fit.


